
 |
I have been collecting Star Wars parts for a while now, Lightsabers to be precise.
If you want to go down the rabbit hole you can always read more at theRPF.com or http://www.partsofsw.com/Ep_1/yodasab.htm

You can see the top emitter is a model wheel from a Lamborghini Countach


Photo's from theRPF.com and you can find more at
So the goal is to make one and here is what I have collected over the past 5 years. Praco's are quite the Unicorn so it took quite a while to get hold of mine.

I have modelled and printed a test blade holder to fit a 7/8 inch blade and a custom PCB board designed to take a very new LED LC8812. These are designed to take the place of the sk6812's and most likely the ws2812b's

Here you can see the 3D printed blade holder fits well.

You need both a Bosley and Praco flash handle to make a Yoda saber, along with the model wheel and an engine sump from another model. You can read up on in the parts of Star Wars page or theRPF.com.

Modelling all the parts has been a nice challenge in Fusion 360.
It has been months or work off and on making a solution in fusion 360, and working with Jimy to come up with a new PCB from scratch that's not been thought of before. Turning what I imagine into a high end replica Saber!

The size of the boards coming out these days is amazing, I have selected the Golden Harvest v3
to be the driving force behind this saber. It's small and packed with plenty of goodies.

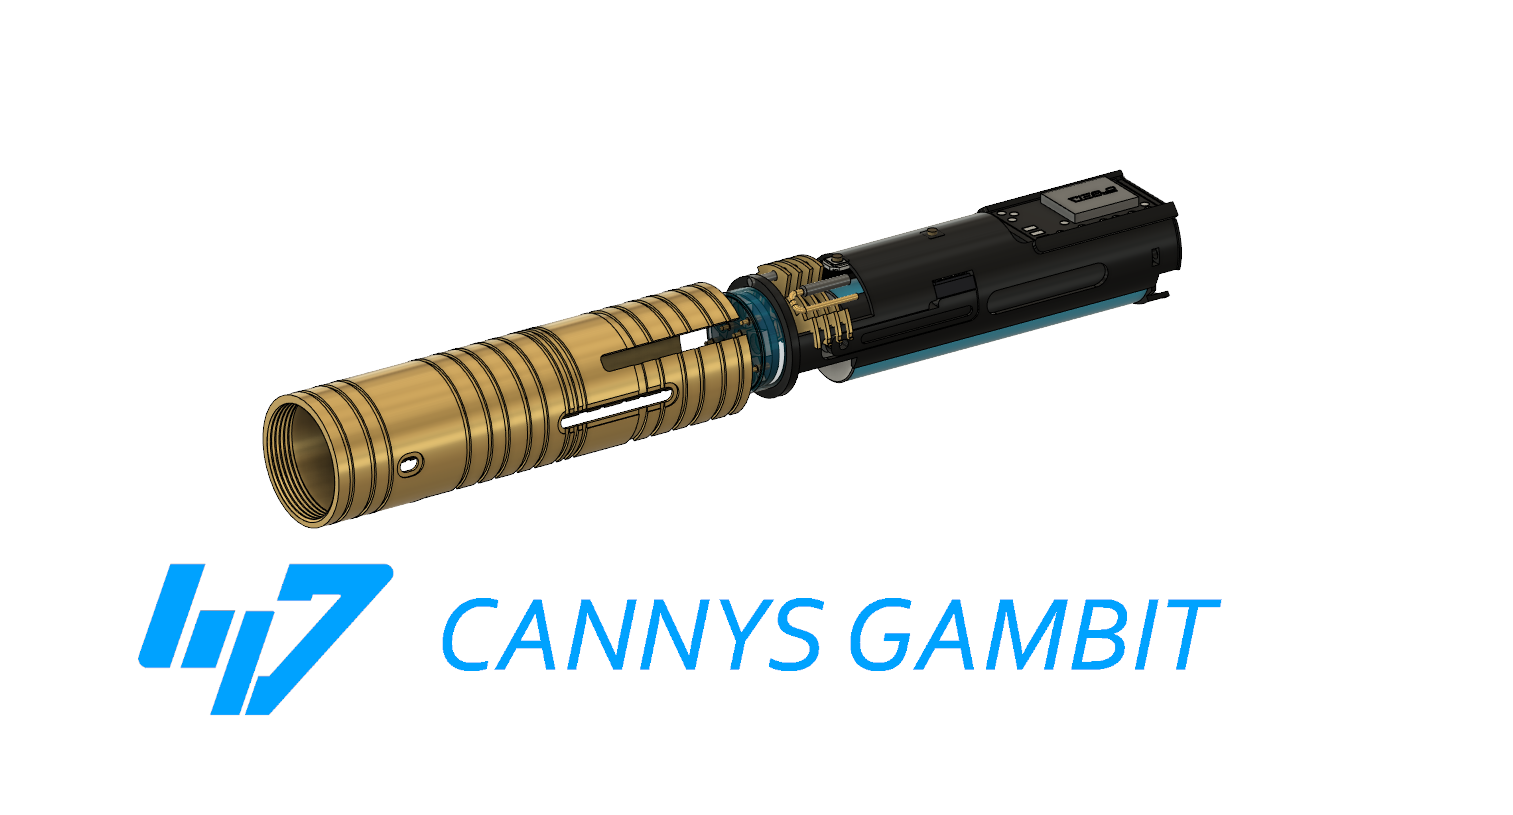
Currently a work in progress with machining the brass inner chassis in mind,
I plan to add a few look-through sections, as well as a-big-as-I-can-manage crystal chamber. At the moment it looks like it will be about 18mm tall. Considering its only a 26mm diameter, I think that's pretty tidy.

Here you can see the render of the 7/8 inch blade holder with a slot in the back for the custom PCB and threads to attach the brass sleeve. I may change the threads to something different but I have 2 months before I'm ready to start machining to finesse the model.
If I get around to updating my progress here, you may see a final design
before I start machining it. I already have the schematics for the PCB with the new LC8812's in 5050 size ready to roll. I have to thank Jimmy for this work. On the PCB there is a super easy JMP1 to select blade or PCB LEDs (or both).

All product and company names are trademarks™ or registered® trademarks of their respective holders. Use of them does not imply any affiliation with or endorsement by them.
No comments:
Post a Comment